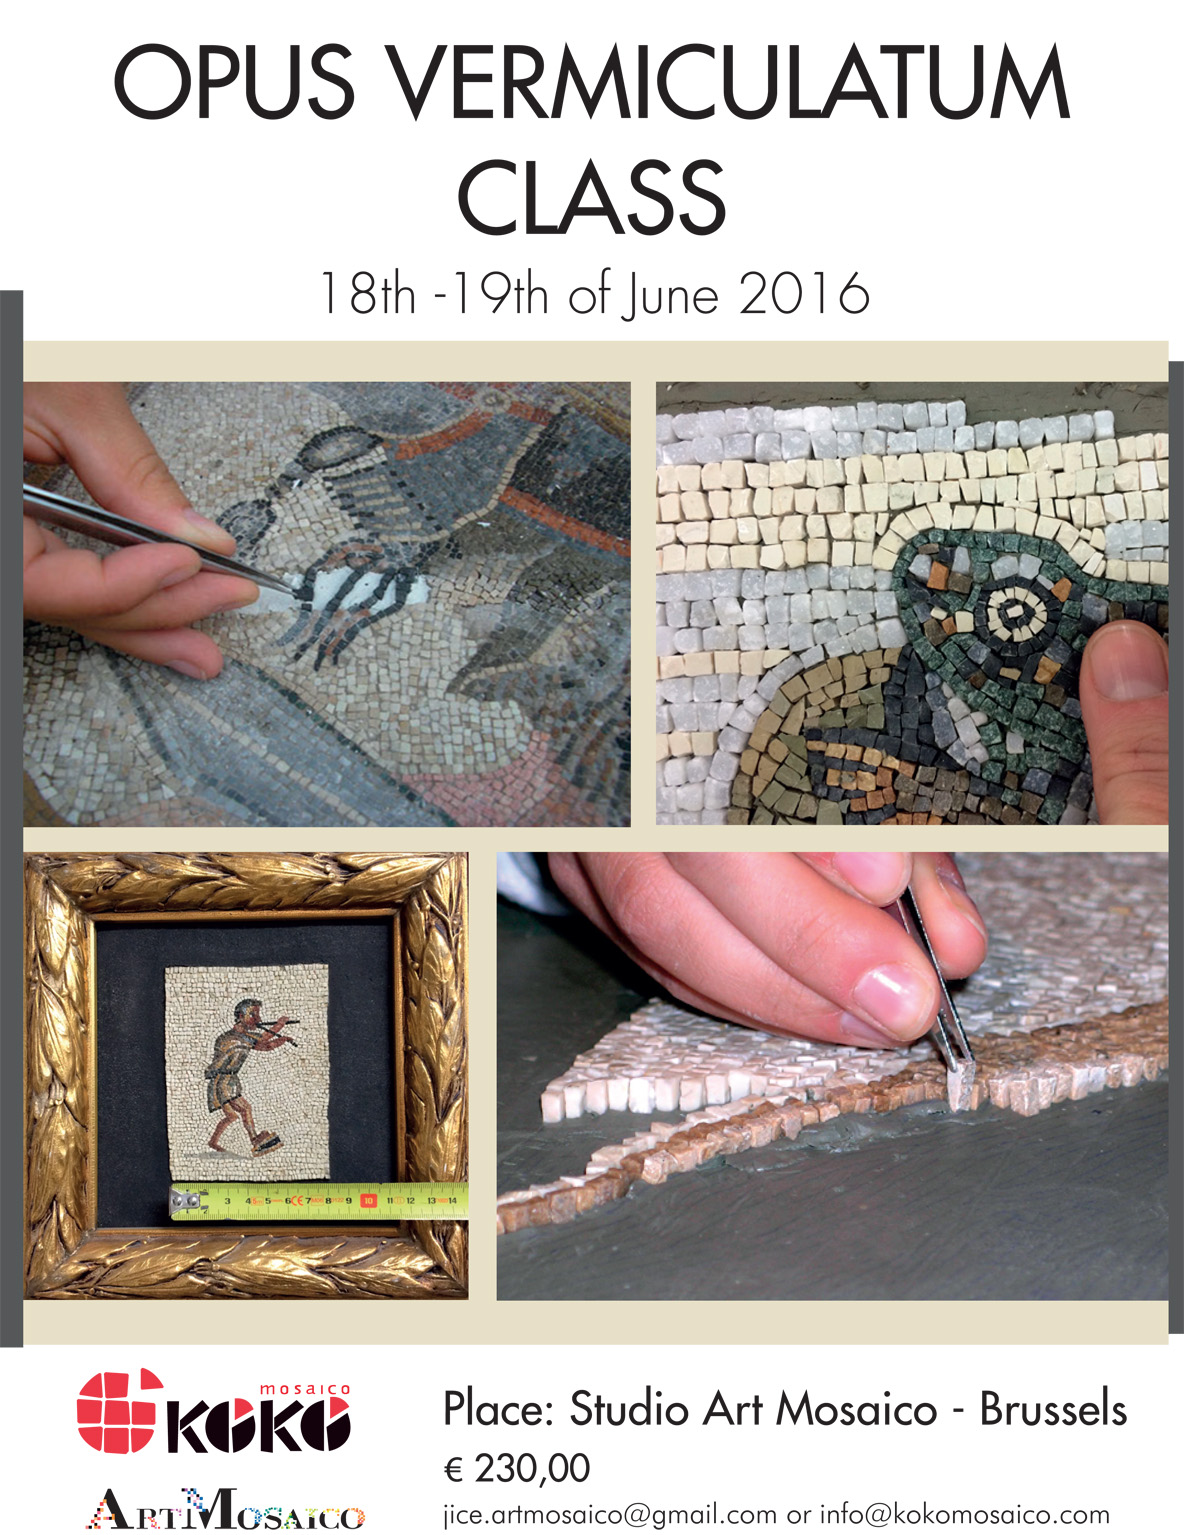
OPUS VERMICULATUM CLASS
Instructor: Arianna Gallo
Dates: June 18-19
Timetable: Saturday: 9:00-13:00 and 14:00-18:00; Sunday 9:00-12:00
Cost: € 230 The price includes instruction 8h a day, all materials, use of tools, the mosaic you have created, all taxes and insurance.
To book please contact: info@kokomosaico.com or jice.artmosaico@gmail.com
WHAT STUDENTS WILL LEARN:
The workshop's focus is the special technique of direct application onto a temporary frame filled with clay.
We will make a small detail from an opus vermiculatum mosaic of the Roman period.
You can choose between a few examples of Italian vermiculatum mosaics belonging to the first century AD.
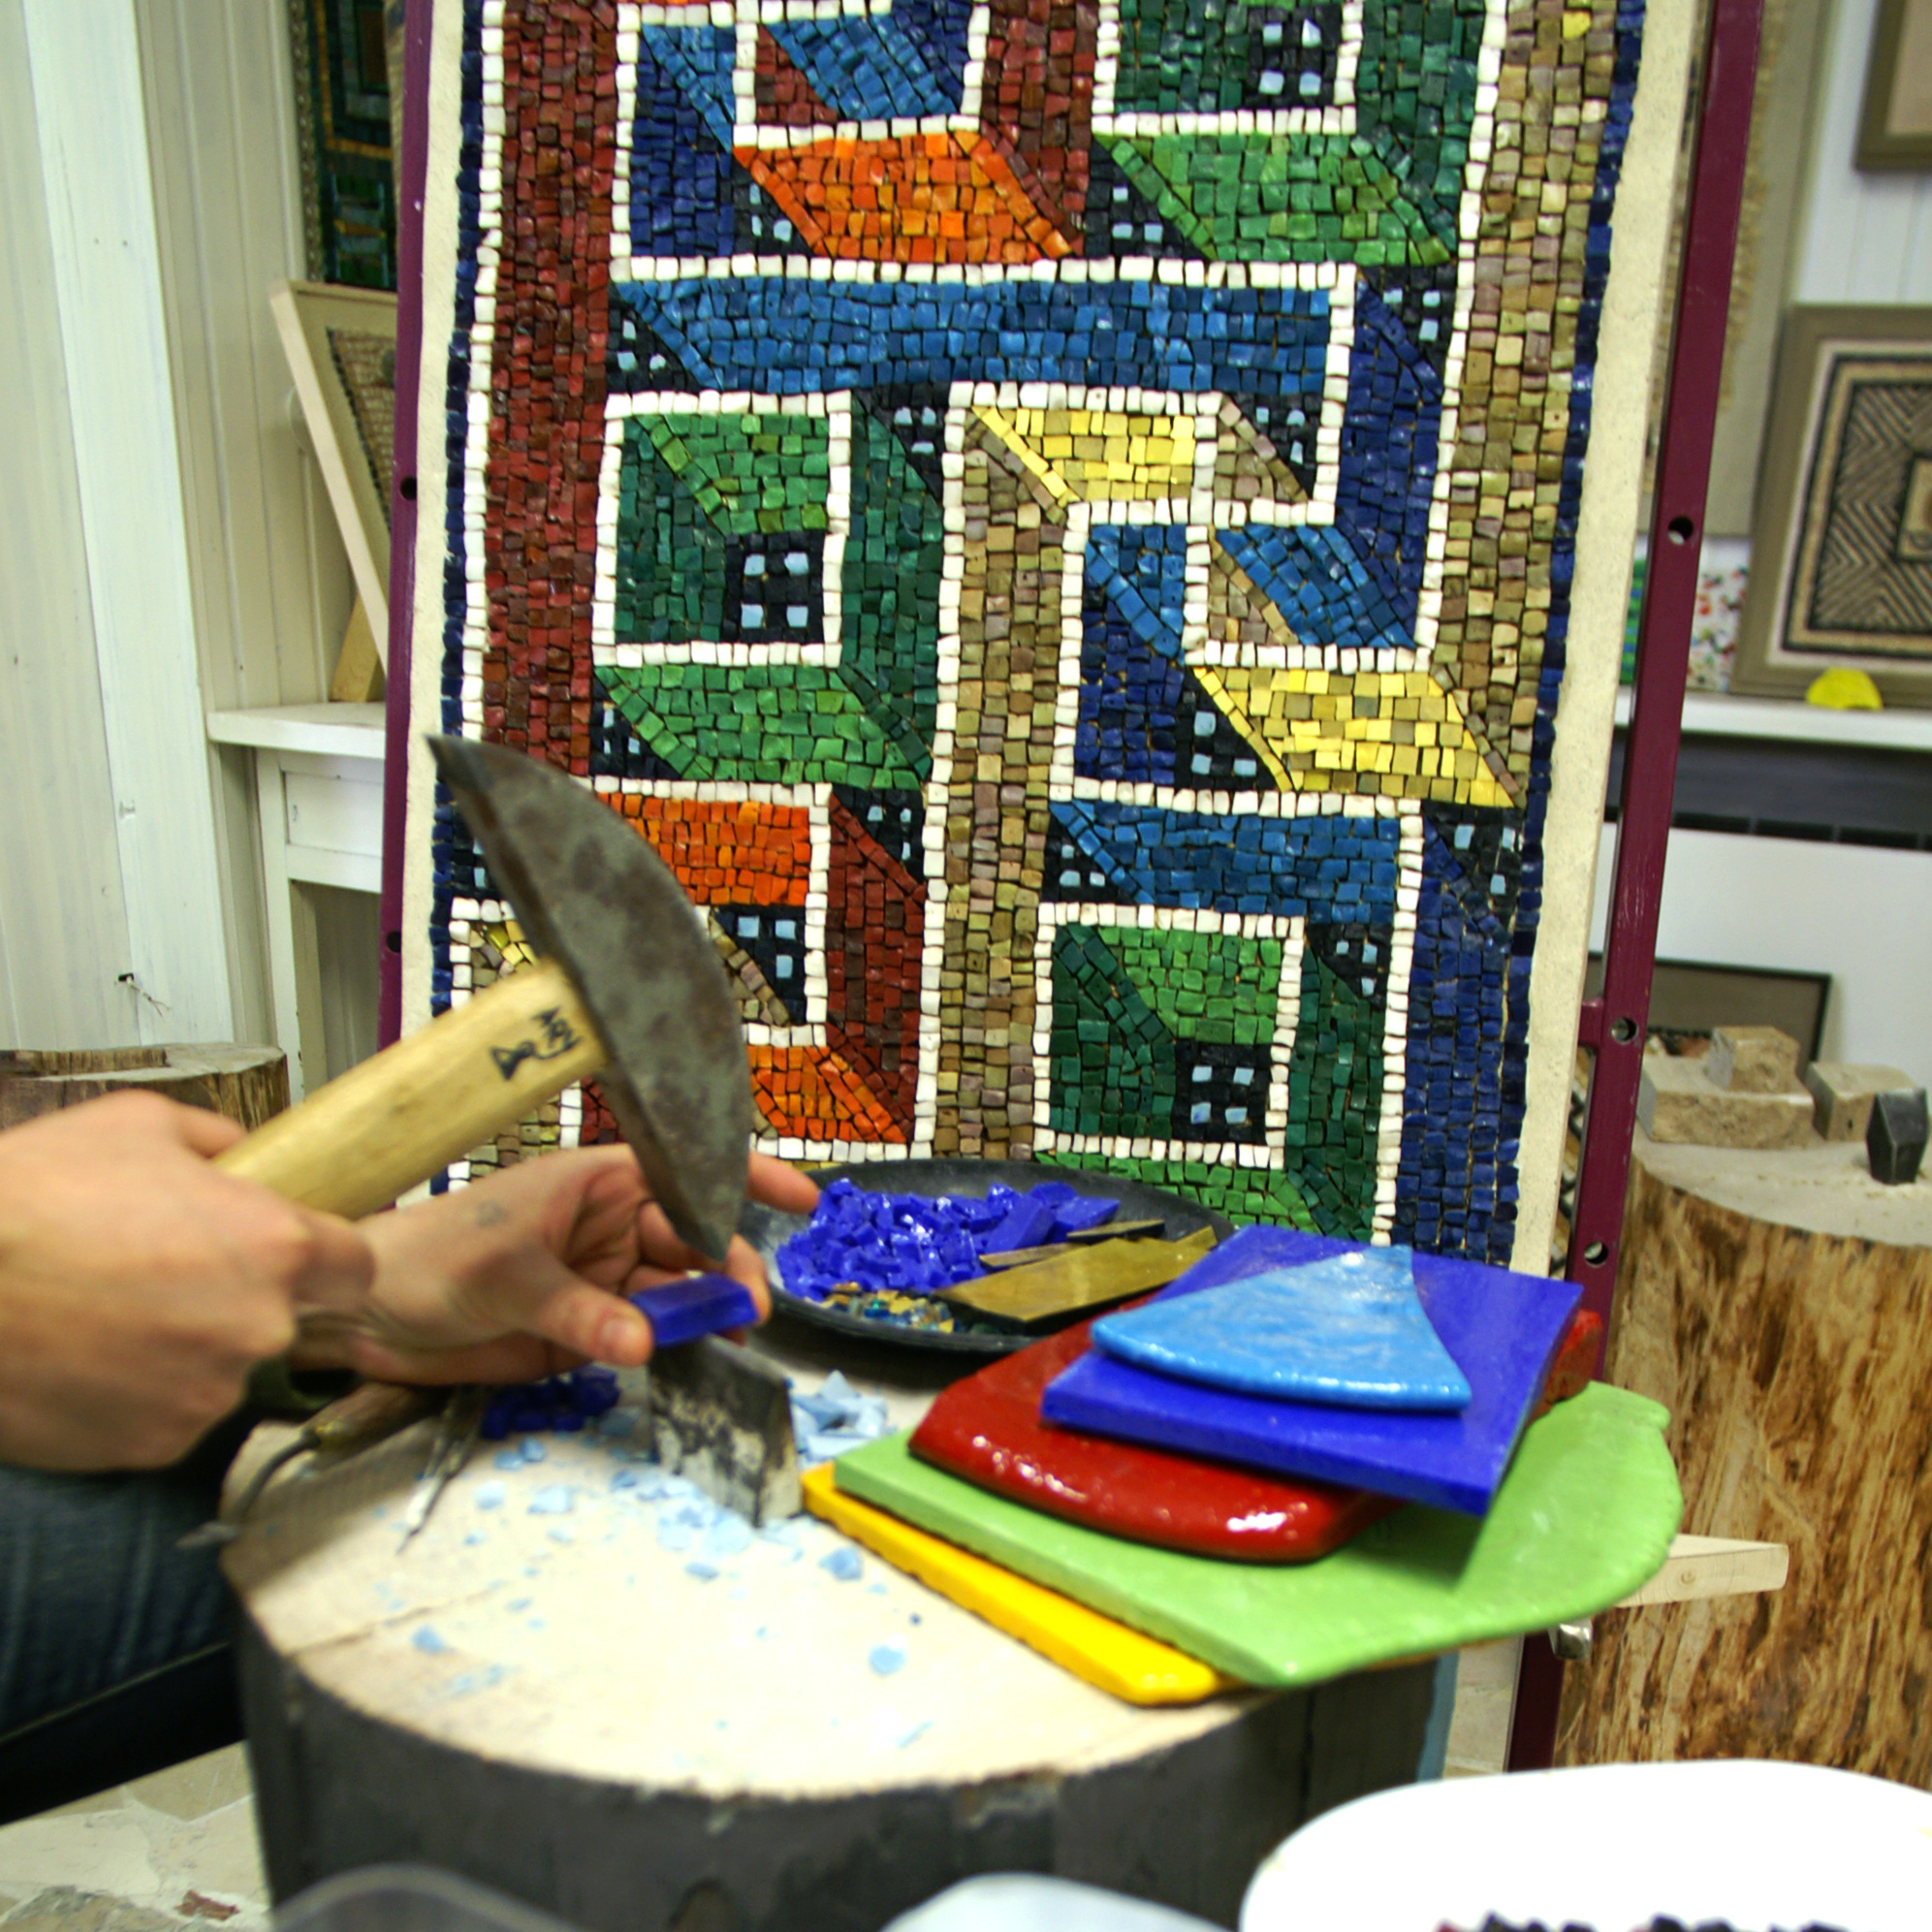
First we will learn how to cut marble and stone into tiny tesserae using the traditional tools: hammer and hardie.
During the course you will design and make a mosaic of approximately 5 cm x 5 cm (2x2 inches). Keeping your design simple and choosing the smaller size mosaic substrate will help you to finish your mosaic by the workshop’s end.
Materials, substrates and all necessary tools are provided.
WHAT IS OPUS VERMICULATUM?
It is the technique employed in the execution of the most refined mosaics (emblemata) in both the ancient Greek and Roman periods. The term vermiculatum (from the Latin vermiculus, little worm) refers either to the tiny, worm-like tesserae (from 1 to 4 mm) or to tesserae no longer square but irregular in shape, as well as to the wriggling following of shapes by flowing lines of small tesserae.
SCHEDULE
First day:
Lecture#1: Presentation of the workshop. Focus on the technique with a slideshow of the making of the "Alexander the Great " mosaic.
Selection of the vermiculatum detail to recreate in mosaic.
Tracing the image with a special water-soluble pen.
Selection of the marble and stone, according to the detail you've chosen.
Cutting lesson: how to use the martellina and the tagliolo; how to cut marble and stone into tiny pieces and into the right shapes.
Preparation of the temporary support and filling it with clay.
Imprint the traced design onto the surface of the moist lime by laying the tracing paper on top of it.
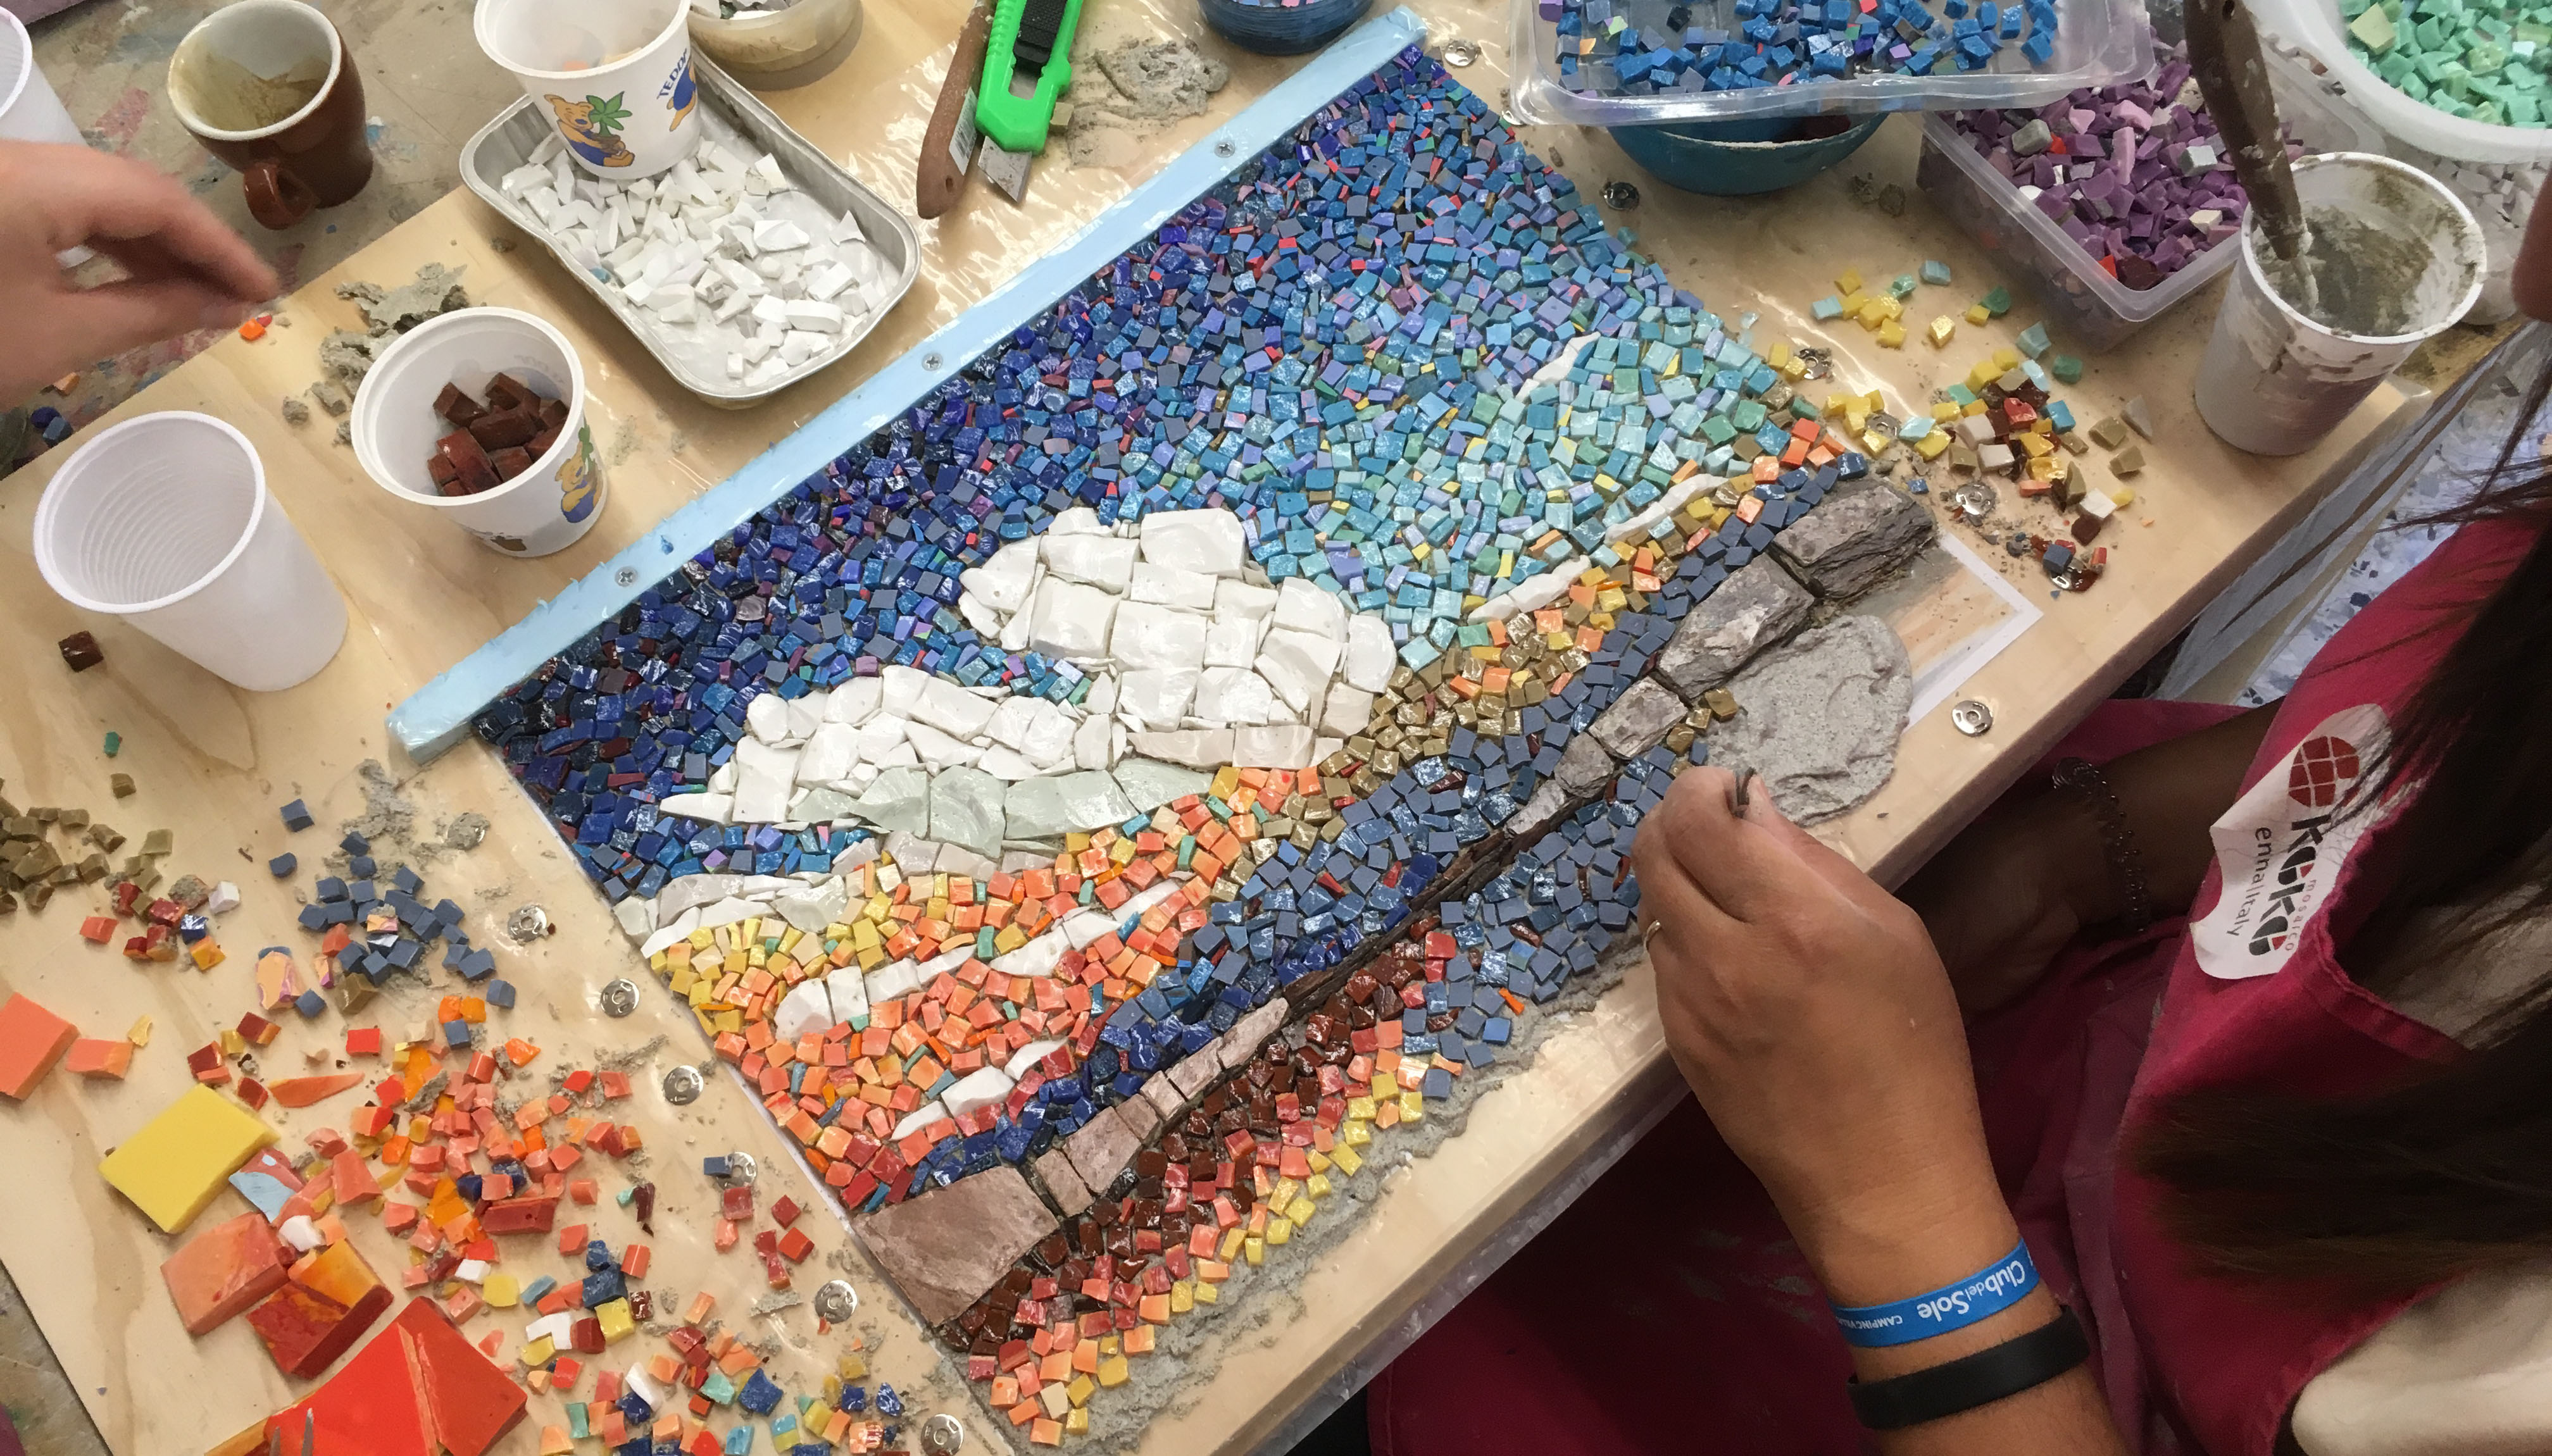
Execution of the mosaic.
Application of the water-soluble glue.
Removal of the clay from the interstices and the backs of every single tesserae.
Preparation of the permanent support and cement for the new setting bed. (We will have to wait about 10 hours for the cement to dry.)
Second day:
Lecture #2: the various types of floor mosaics in the ancient Roman world. How many opus do you know?
Removal of the glue from the surface of the mosaic.
Smoothing of the surface with a diamond sponge.
Grouting.
Finishing touches on the mosaic, awarding the certificates, and group photo.
Looking forward to seeing you very soon!
Warm wishes,
Arianna Gallo


